Overview
By default, your Righthands get an email address on a Righthand domain. With a custom domain, you can give them a professional email address that matches your company — so emails from your Righthand look like they’re coming from your team.Prerequisites
Before you begin, make sure you have:- Admin access to your Righthand team
- Access to your domain’s DNS settings (through your domain provider)
Why Use a Subdomain?
We strongly recommend using a subdomain (e.g.,ai.yourcompany.com) rather than your primary domain (e.g., yourcompany.com). The setup requires adding an MX record, which controls where email for that domain is delivered. If you add an MX record to your primary domain, it can override your existing email routing and disrupt email delivery for your entire organization.
Using a subdomain keeps your primary email completely untouched while giving your Righthands a clean, branded address like avery@ai.yourcompany.com.
Adding a Custom Domain
1
Go to General Settings
Navigate to the General Settings page in the Righthand platform.
2
Add a domain
In the Custom Domains section, click Add Domain in the top right corner.
3
Enter your subdomain
Type in the subdomain you’d like to use (e.g., 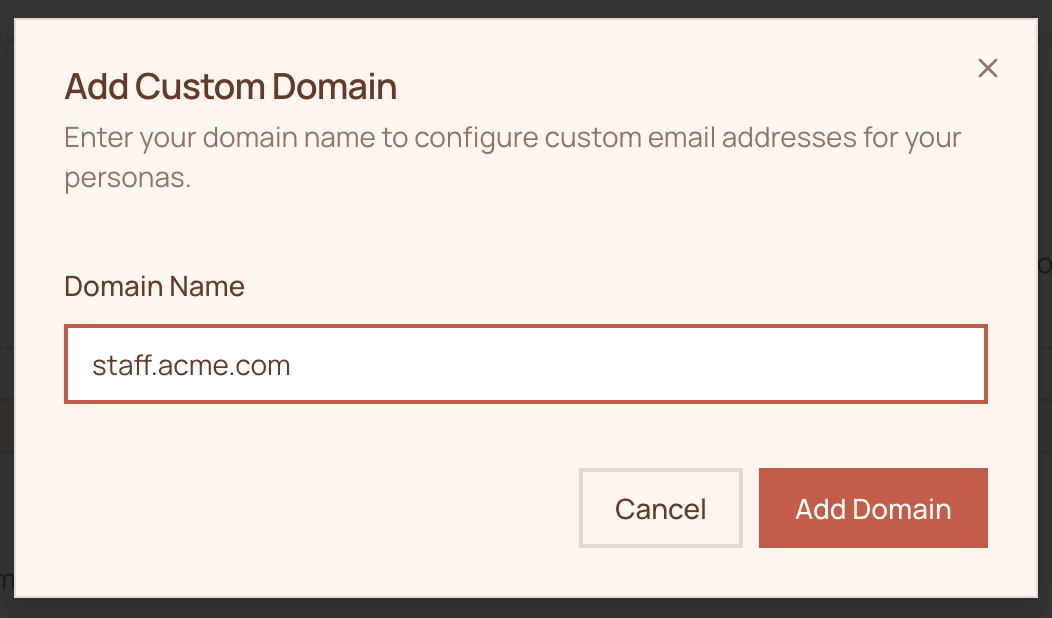
ai.yourcompany.com) and click Add Domain.4
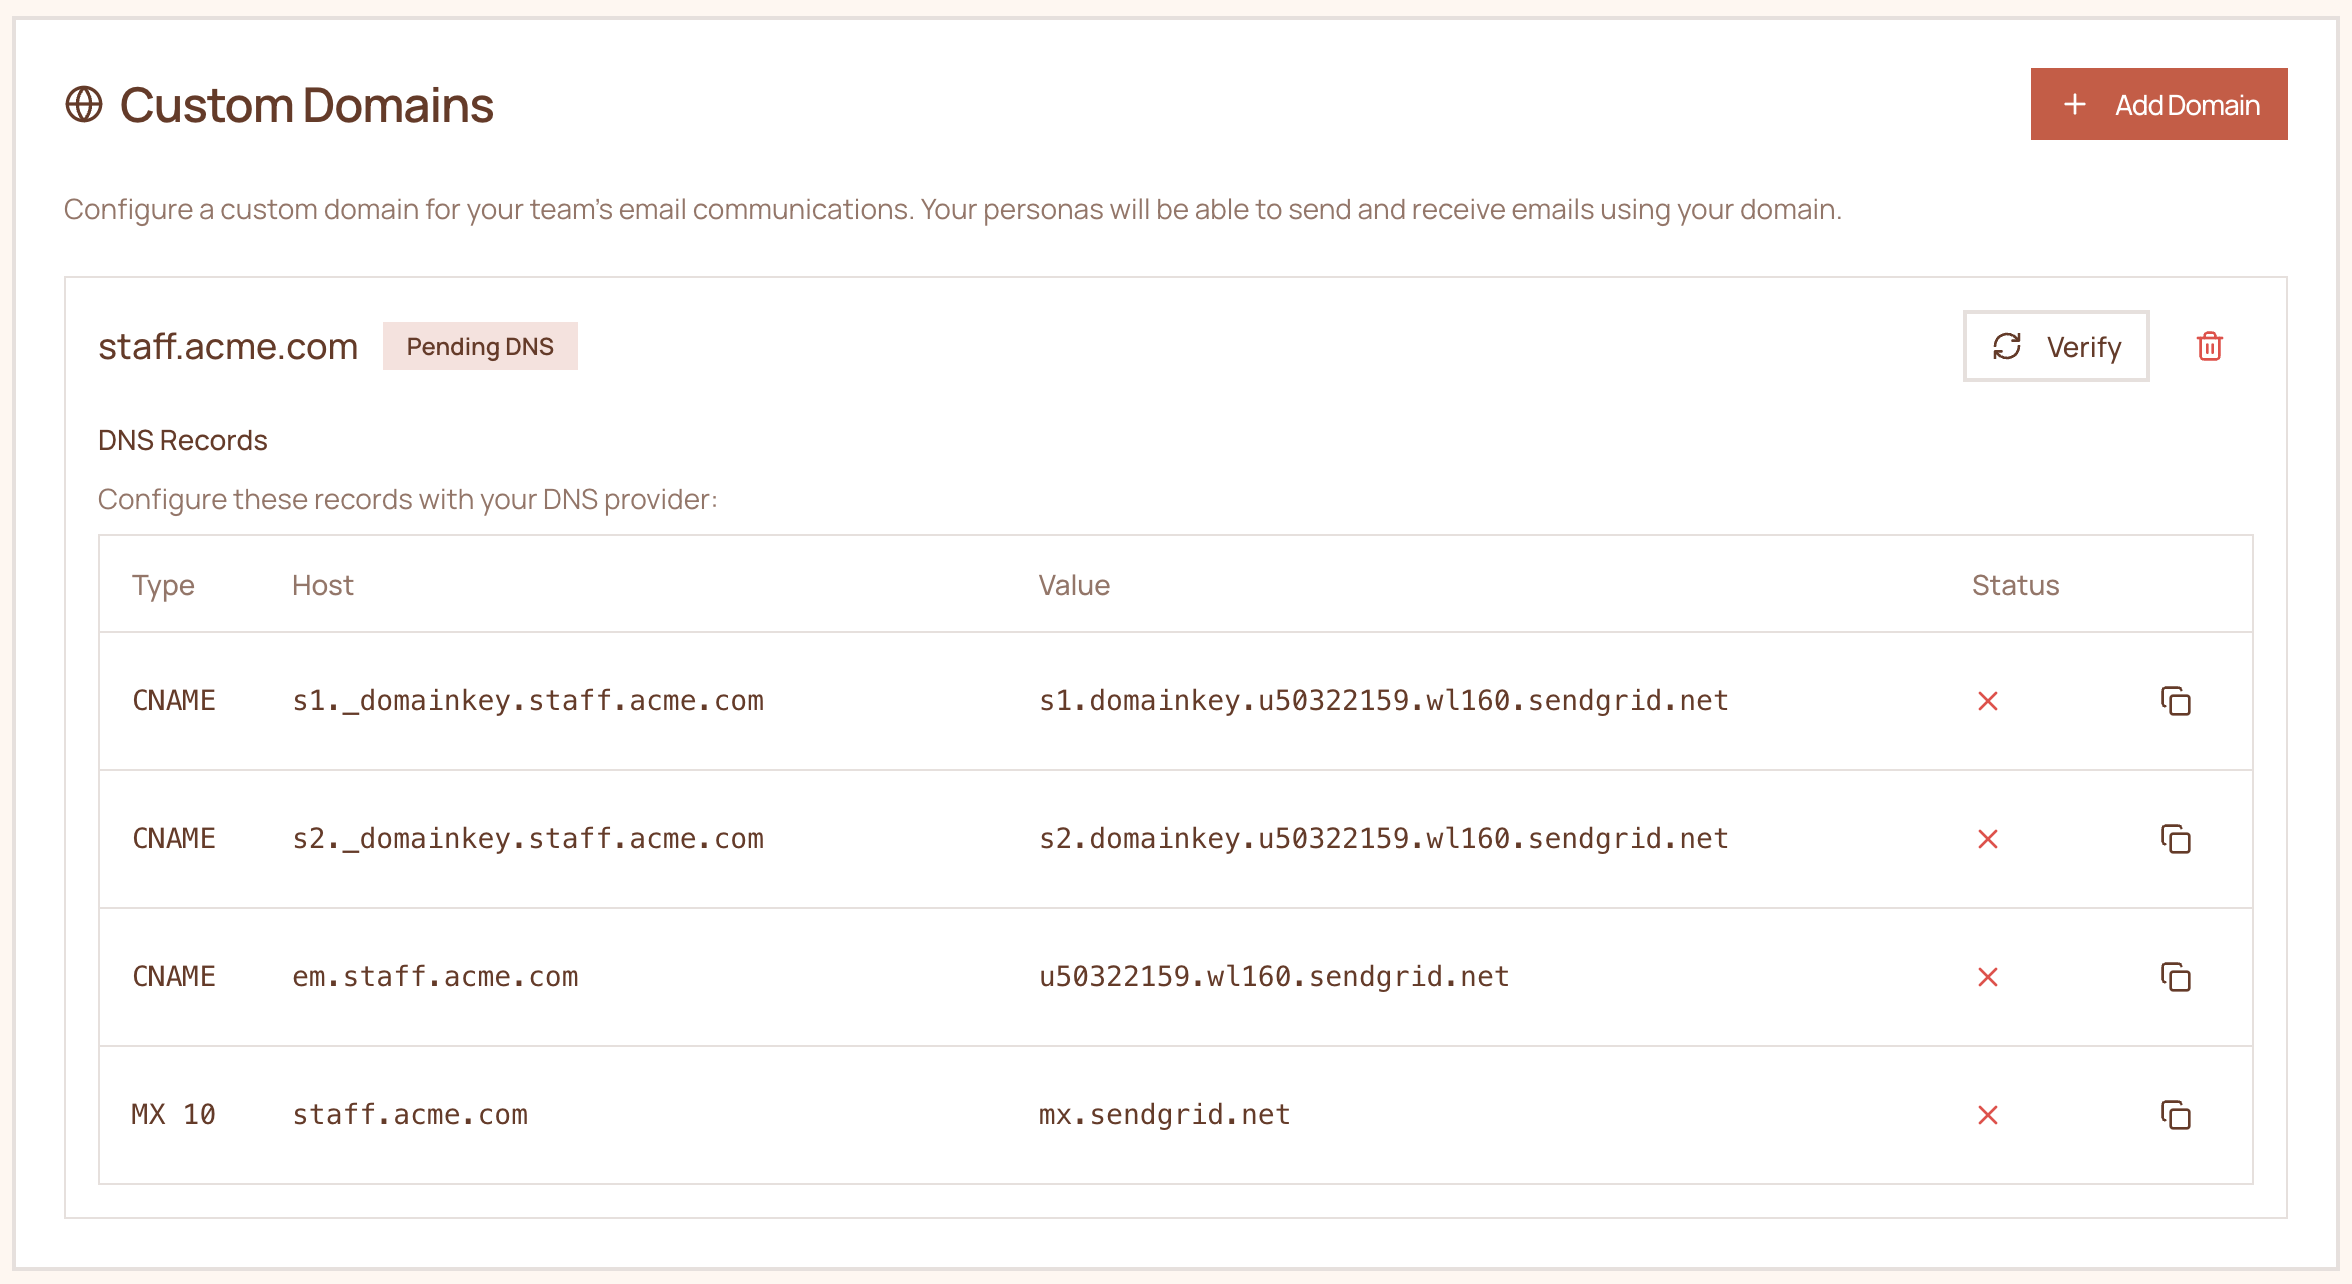
Add DNS records
You’ll be shown 4 DNS records to add to your domain provider: 3 CNAME records and 1 MX record. Add all of them to your domain’s DNS settings.
Cloudflare
Cloudflare
- Log in to the Cloudflare dashboard and select your domain.
- Go to DNS → Records.
- Click Add record for each of the 4 records.
- For CNAME records: set Type to
CNAME, enter the Name and Target as shown. - For the MX record: set Type to
MX, enter the Name, Mail server, and Priority as shown. - Important: Set the proxy status to DNS only (grey cloud) for all records.
GoDaddy
GoDaddy
- Log in to GoDaddy and select your domain.
- Go to DNS → DNS Records.
- Click Add New Record for each of the 4 records.
- For CNAME records: select CNAME as the type, then enter the Name and Value as shown.
- For the MX record: select MX as the type, then enter the Name, Value, and Priority as shown.
- Save each record.
Namecheap
Namecheap
- Log in to Namecheap and go to Domain List → Manage for your domain.
- Navigate to the Advanced DNS tab.
- Click Add New Record for each of the 4 records.
- For CNAME records: select CNAME Record, then enter the Host and Value as shown.
- For the MX record: select MX Record, then enter the Host, Value, and Priority as shown.
- Save all changes.
Google Domains / Squarespace
Google Domains / Squarespace
- Log in to Squarespace Domains (formerly Google Domains).
- Select your domain and go to DNS → Custom Records.
- Click Add Record for each of the 4 records.
- For CNAME records: select CNAME as the type, then enter the Host name and Data as shown.
- For the MX record: select MX as the type, then enter the Host name, Data, and Priority as shown.
- Save each record.
Route 53 (AWS)
Route 53 (AWS)
- Log in to the AWS Console and go to Hosted zones.
- Select the hosted zone for your domain.
- Click Create record for each of the 4 records.
- For CNAME records: set Record type to
CNAME, enter the Record name and Value as shown. - For the MX record: set Record type to
MX, enter the Record name and Value (formatted aspriority mailserver) as shown. - Leave TTL at the default and click Create records.
5
Verify your domain
Wait 1–5 minutes for the DNS records to propagate (in some cases it can take up to 24 hours), then click Verify. Once verified, your custom domain will be available as an option when hiring new Righthands in the Hire flow.
Need help? Reach out to us at support@humans.righthand.ai.